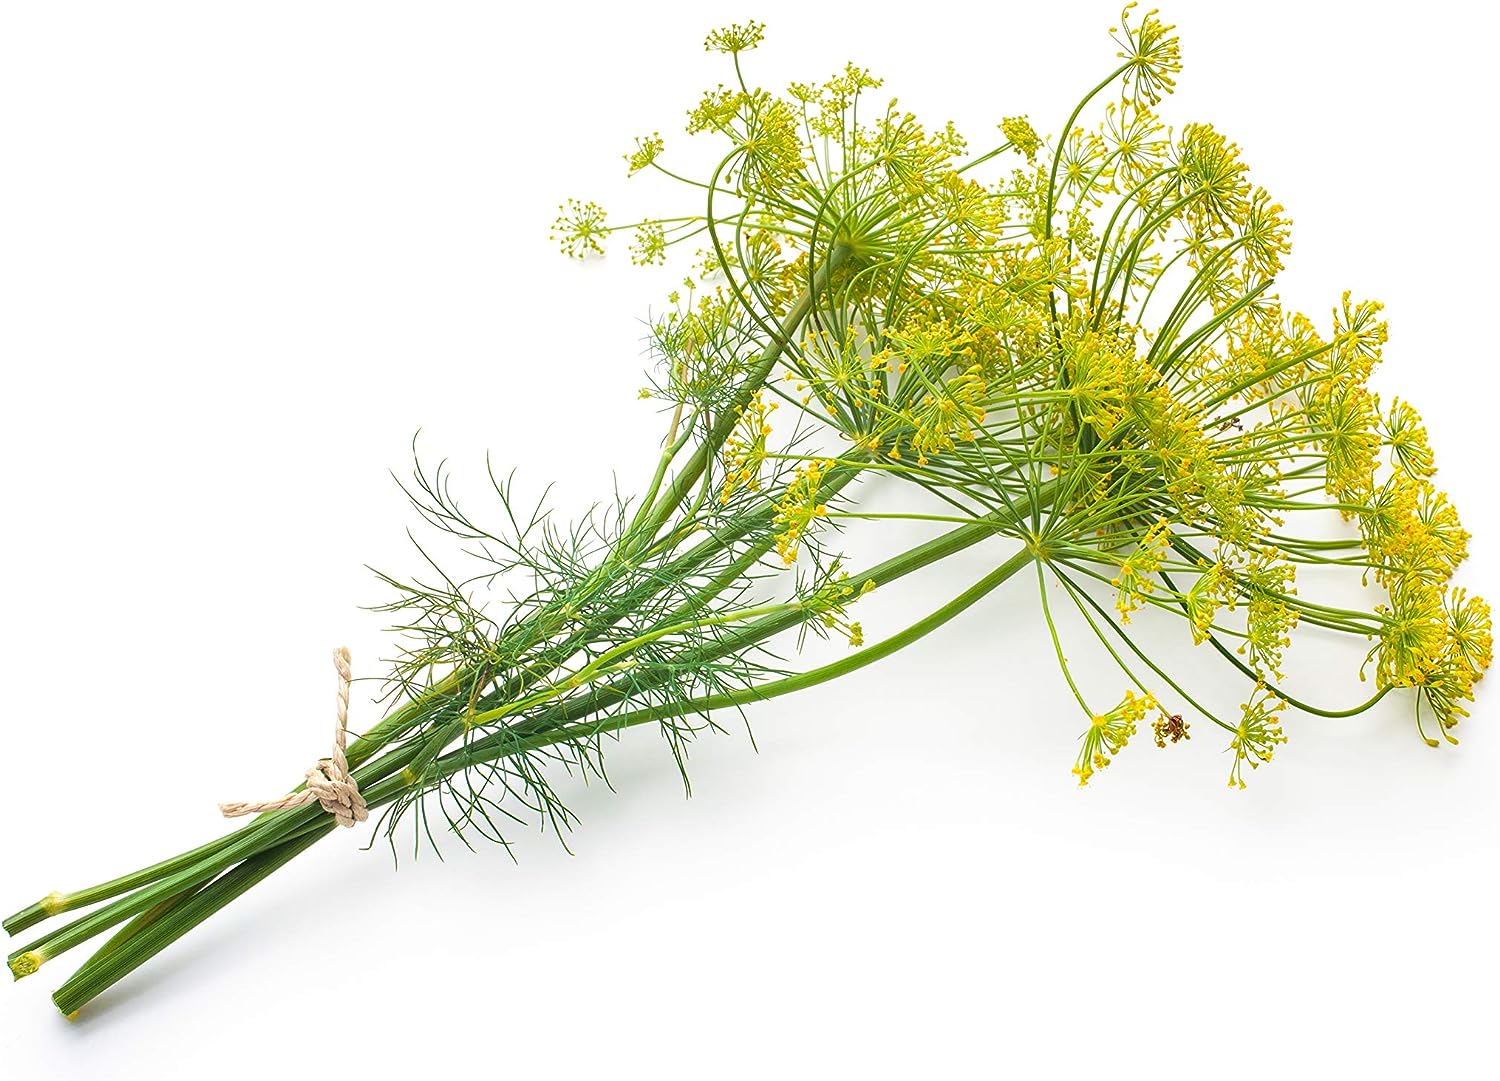
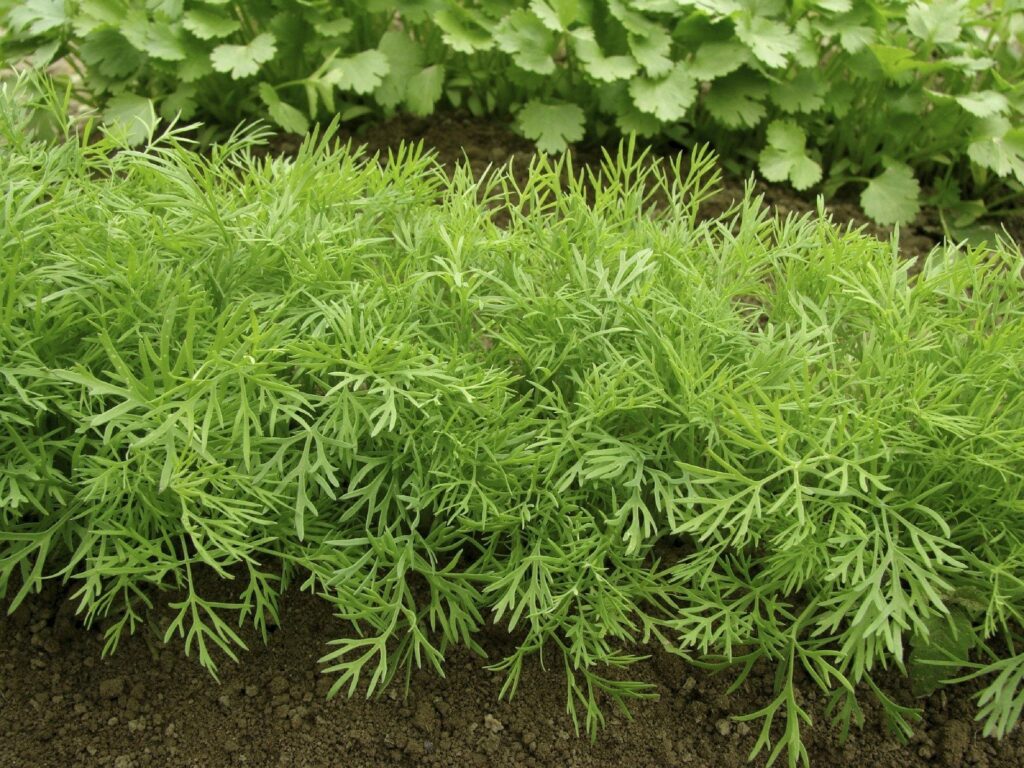
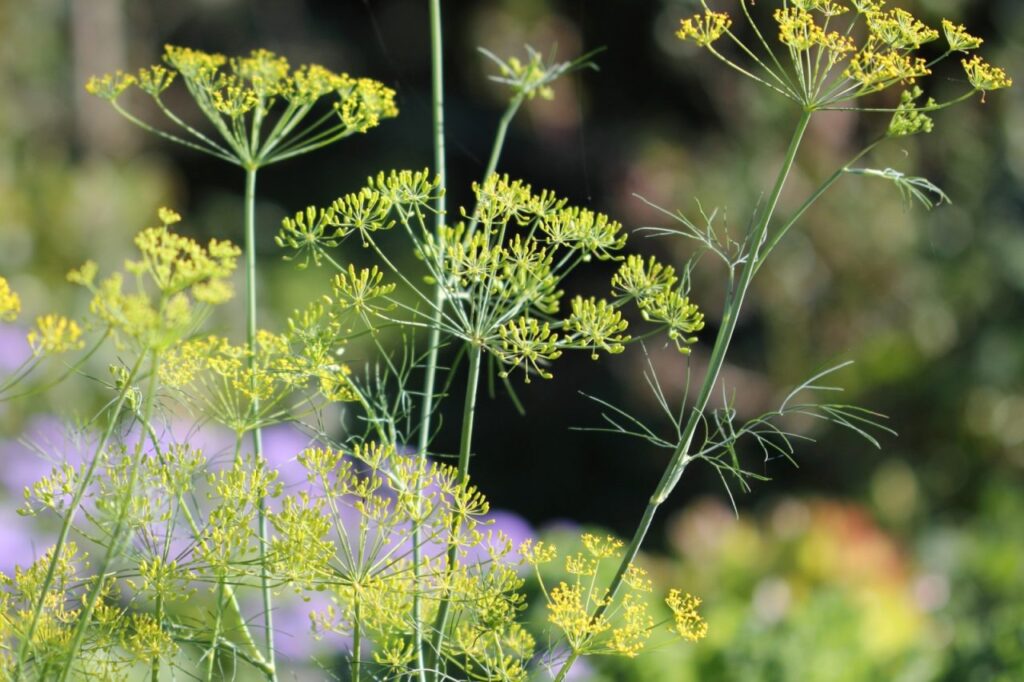
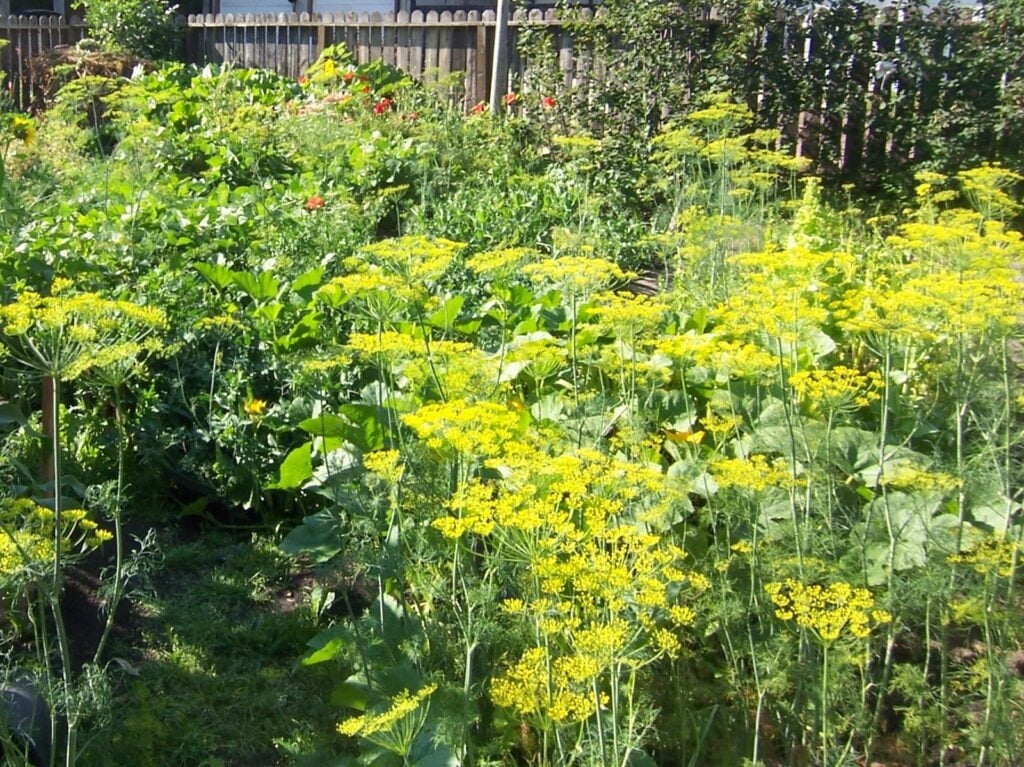
Dill (Anethum graveolens) is a flavorful herb renowned for its feathery leaves and aromatic seeds. Cultivating dill from seed is a rewarding endeavor, and with the right steps, you can ensure successful germination and a steady supply of fresh dill for your culinary needs. Here’s a comprehensive guide on how to germinate dill seeds.
1. Purchasing High-Quality Dill Seeds
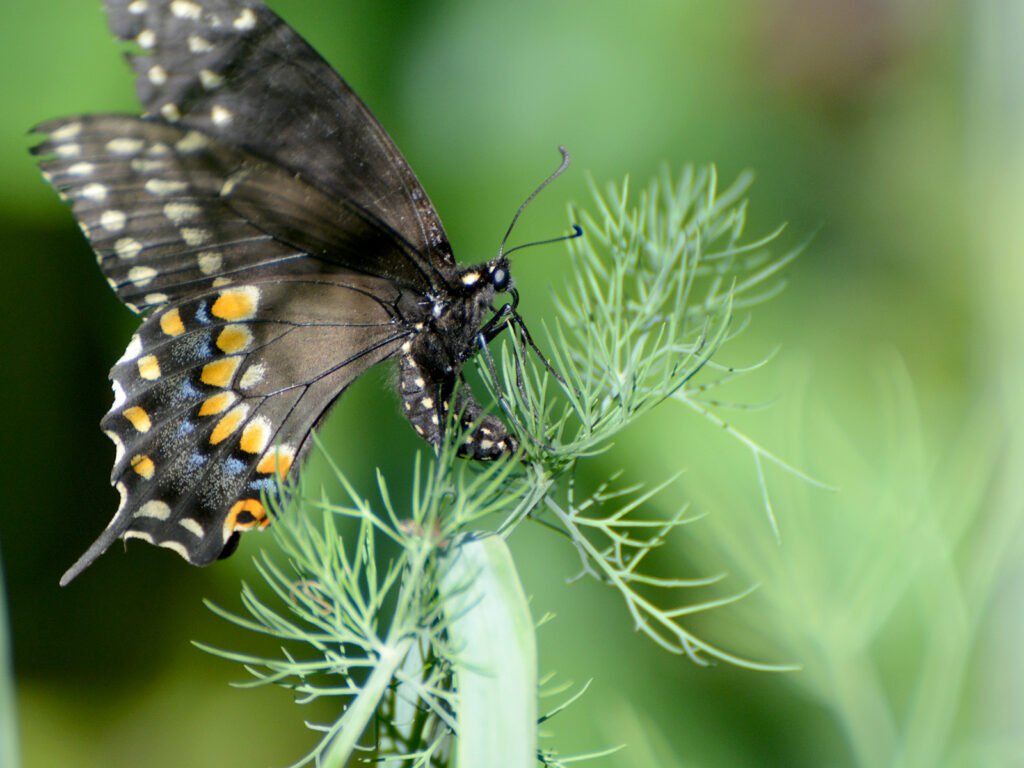
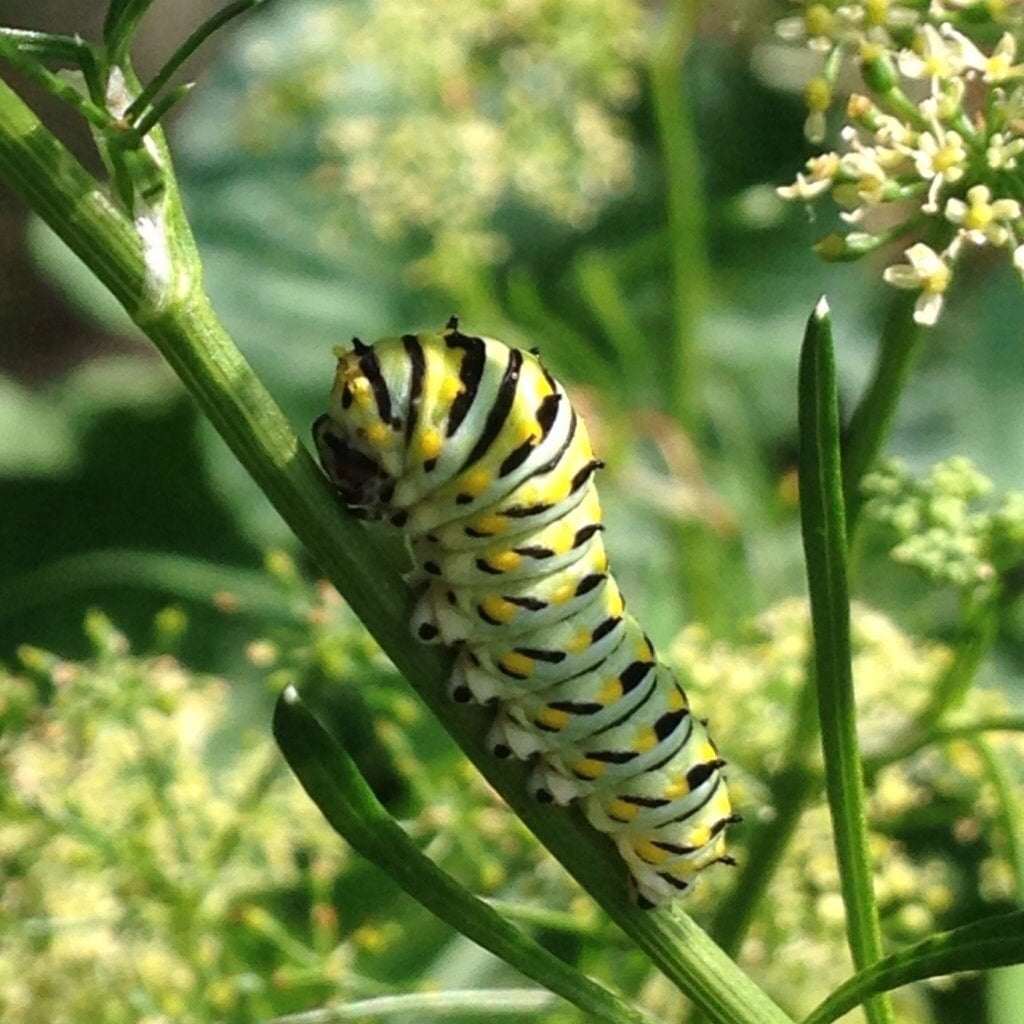
500 Bouquet Dill Seeds for North America – Black Swallowtail
With more than one full gram in every pack, you’ll receive an astonishing number of seeds (well over 500) – enough to transform your garden into a dill paradise. Attracts Black Swallowtails. For all North America.
2. Preparing the Soil
Dill prefers well-draining soil with a slightly acidic to neutral pH (6.0-7.5). Use a standard potting mix or garden soil, and consider mixing in some compost for added nutrients.

3. Sowing the Seeds
Outdoor Planting: If you’re sowing dill seeds directly outdoors, wait until the danger of frost has passed. Plant seeds approximately 1/4 inch deep, spacing them about 18 inches apart.
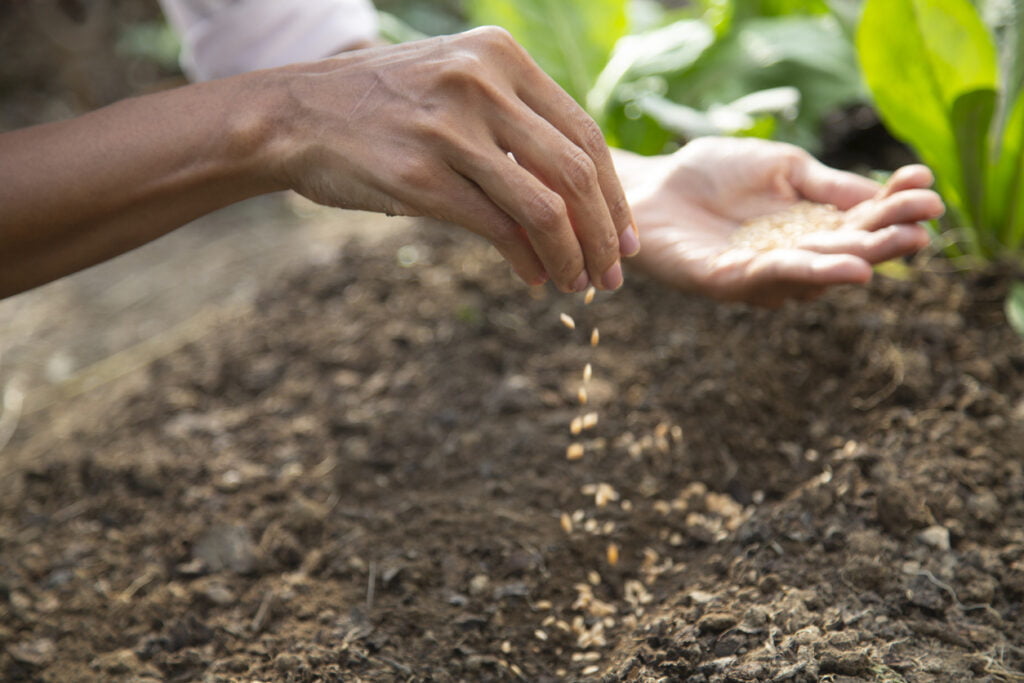
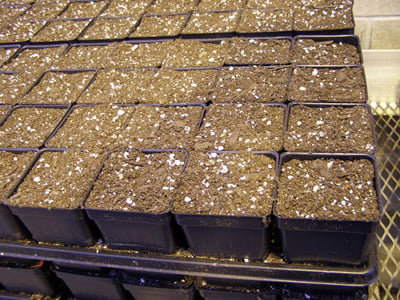
Indoor Planting: If starting seeds indoors, use seed trays or small pots. Sow 2-3 seeds per cell or pot, thinning to the strongest seedling later.
4. Watering
Water the soil gently after sowing the seeds. Ensure the soil remains consistently moist but not waterlogged. A light misting spray can be useful to keep the surface moist without dislodging the seeds.
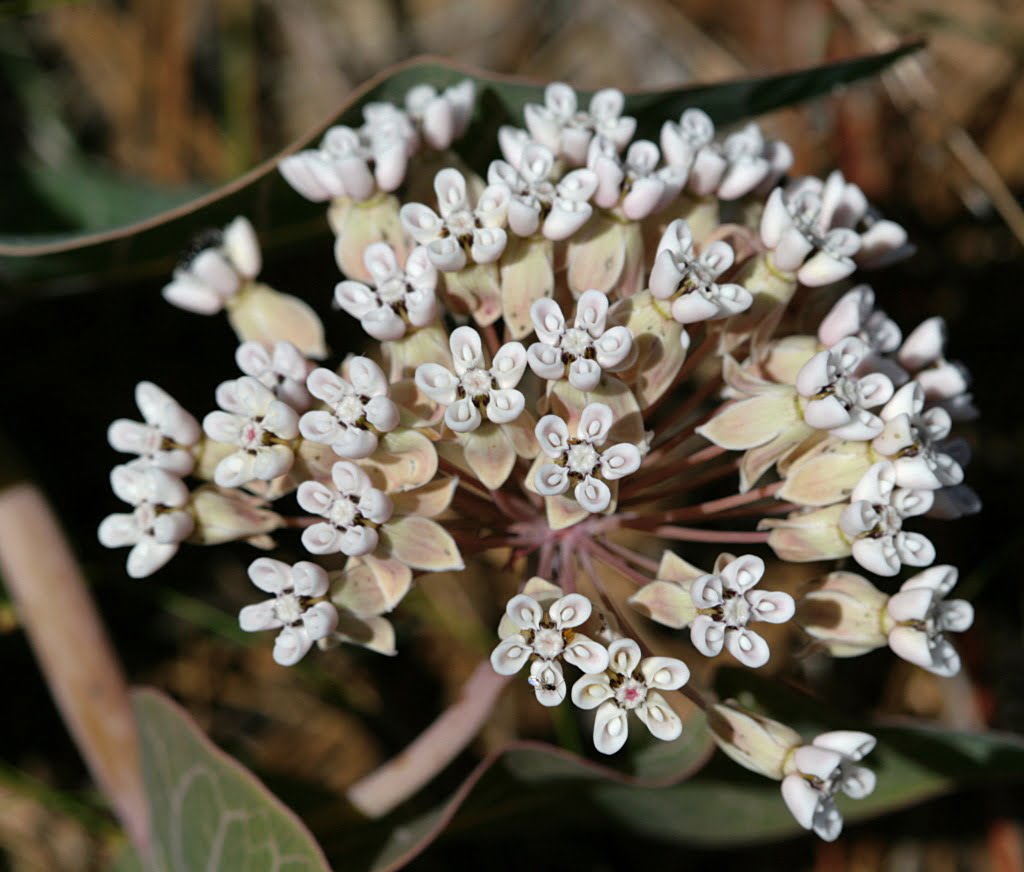
10 Sandhill Milkweed Seeds Ascslepias Humistrata Pinewood Milkweed Florida-Native
With Johnny Butterflyseed’s Sandhill Milkweed seeds, you’re not just planting flowers; you’re cultivating a living mosaic of nature’s marvels. 10+ Florida Native seeds.
5. Providing the Right Conditions
Dill seeds prefer a temperature range of 60-70°F (15-21°C) for germination. If starting indoors, consider placing the seed trays in a warm location or using a heat mat to maintain a consistent temperature.
6. Waiting for Germination
Dill seeds typically germinate within 10-14 days, though this can vary based on conditions. Once the seedlings emerge, ensure they receive adequate light. If indoors, place them in a sunny windowsill or use grow lights.
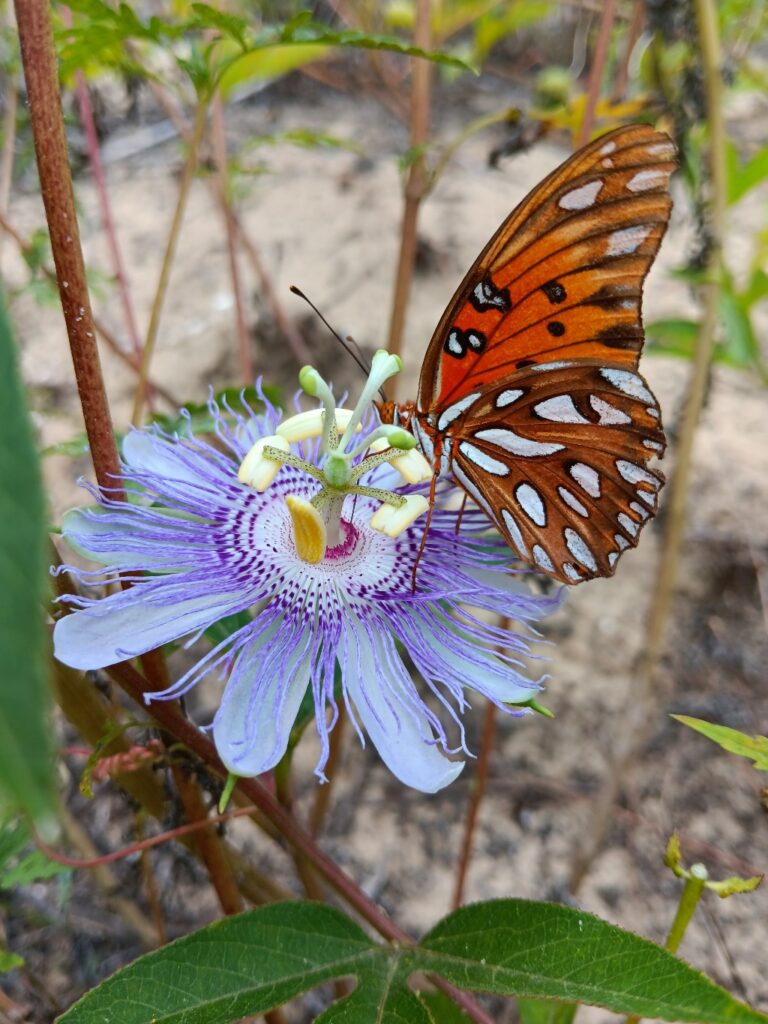
10 Florida-Native Maypop Purple Passionvine Seeds (Passiflora Incarnata)
Maypop Purple Passionvine Passiflora Incarnata seeds. Florida Native. 10 or more seeds.
7. Transplanting Seedlings (If Started Indoors)
Once the dill seedlings have at least two true leaves (not counting the initial seed leaves) and the outdoor temperatures are consistently above 50°F (10°C), they’re ready to be transplanted. Harden them off by gradually exposing them to outdoor conditions over a week before transplanting to reduce shock.
8. Care After Germination
As the dill plants grow, water them moderately, allowing the soil to dry out between waterings slightly. Dill doesn’t require heavy fertilization; a light application of a balanced fertilizer once during the growing season should suffice.
Conclusion
Germinating dill seeds is a straightforward process, and with a little care, you can enjoy a bountiful harvest of this aromatic herb. Whether you’re using dill in pickling, salads, or as a garnish, starting it from seed allows you to witness the full lifecycle of this delightful plant… one day at a time!
20 Florida-Native “Black Drink Holly” Seeds (Ilex nigrempotum) formerly “Yaupon”
20 or more seeds of the Florida-native, Black Drink Holly (Ilex nigrempotum), formerly known as “Yaupon.” Origin: Polk Co. FL Zone 9b.