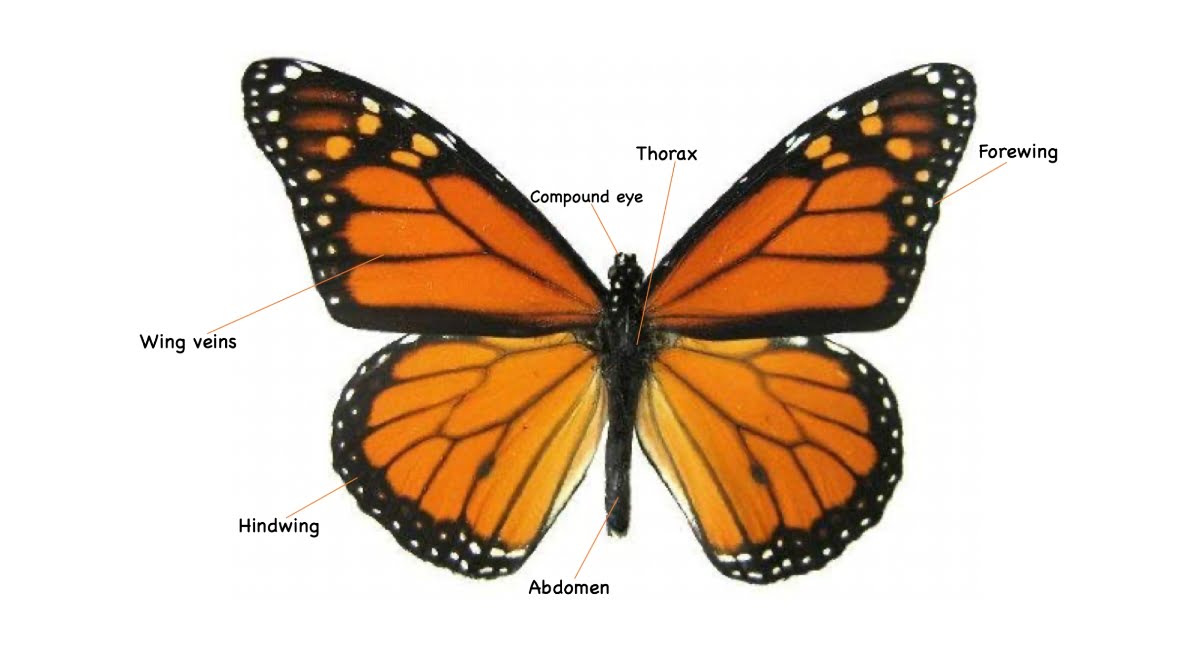
Drawing a butterfly can be simple and fun, especially when you break it down into a step-by-step process. Here, Johnny shows you how to draw a butterfly easily:
Step 1: Draw an oval shape in the middle of your paper for the body of the butterfly.
Step 2: Above the oval, draw a small circle for the head.
Step 3: Draw a line horizontally through the middle of the body. This will be the guide for placing the wings.
Step 4: On the left side of the horizontal line, draw the top left (forewing) wing. It should start wide at the top and narrow towards the bottom, kind of like a kite shape. The top should be a bit rounded and the bottom should have a slight point.
Step 5: Repeat the same process on the right side of the horizontal line for the top right wing. Try to make it as symmetrical to the left wing as possible.
Step 6: For the bottom wings (hindwings), draw another kite shape below the top wings. These should be smaller than the top wings and slightly more angled.
Step 7: Repeat this step on the right side. Try to keep both bottom wings symmetrical.
Step 8: Now, add some patterns to your butterfly’s wings. These can be as simple as circles or stripes, or as complex as you’d like.
Step 9: Lastly, add two antennae to the top of the butterfly’s head. They should be thin and curve slightly outwards.
Step 10: Now, you can color your butterfly any way you want!
You did it!
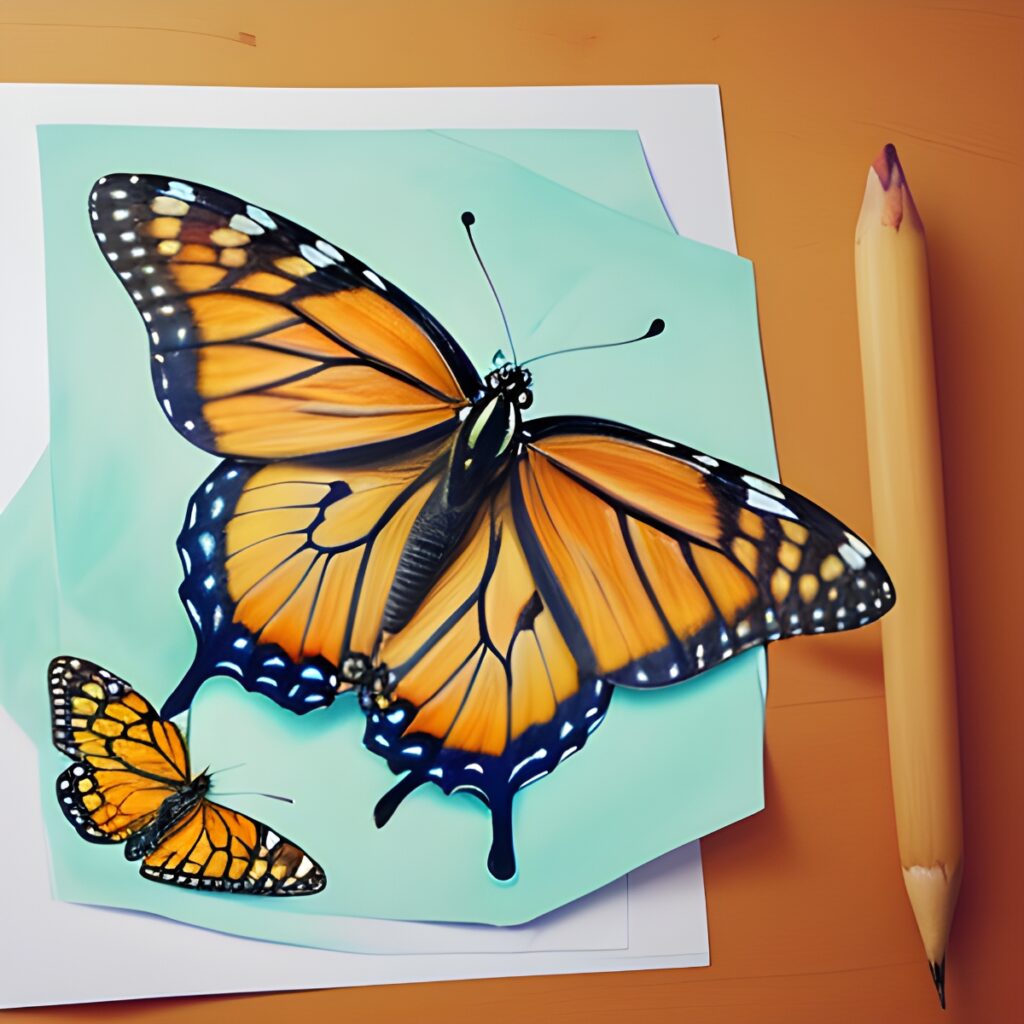
Remember, no two butterflies are exactly the same, so it doesn’t have to be perfect. Have fun with it and enjoy the process of creating something beautiful. Now go Plant More Milkweed!
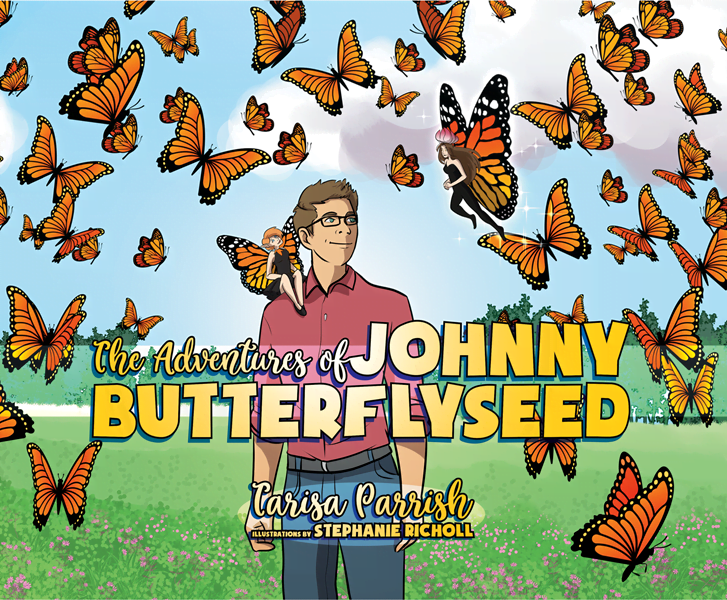
The Adventures of Johnny Butterflyseed – Author Signed First Edition Children’s Book
Save the monarchs!
Johnny Butterflyseed and his fairy friend, Raven Silverwing, embark on a mission to save the rapidly disappearing butterflies. They enlist the help of Queen Venus Goldwing and her kingdom of monarchs to educate and inspire kids to become butterfly farmers. At first, Johnny faces his own internal struggle with self-doubt and fear in his ability to make a difference, but then soon develops a mindset that allows him to not only get started, but also make progress one day at a time. Through challenge after challenge, Johnny learns that he is not alone in his mission and that there are many people who want to help. Together, Johnny, Raven, and Queen Venus educate thousands of children on becoming butterfly farmers.